

Introduction
A nail buffer is a must-have tool for anyone who wants beautiful, healthy nails. Whether you enjoy a professional manicure or prefer DIY nail care, using a nail buffer can transform the appearance of your nails, making them smooth and naturally shiny. In this comprehensive guide, we’ll explore everything you need to know about nail buffers, including their types, benefits, and how to use them correctly.
What is a Nail Buffer?
A nail buffer is a tool designed to smooth out ridges, remove stains, and add shine to natural nails. It usually consists of different textured surfaces that serve multiple purposes, such as filing, buffing, and polishing. Buffers come in various shapes, sizes, and materials, each designed for a specific function in nail care.
Types of Nail Buffers
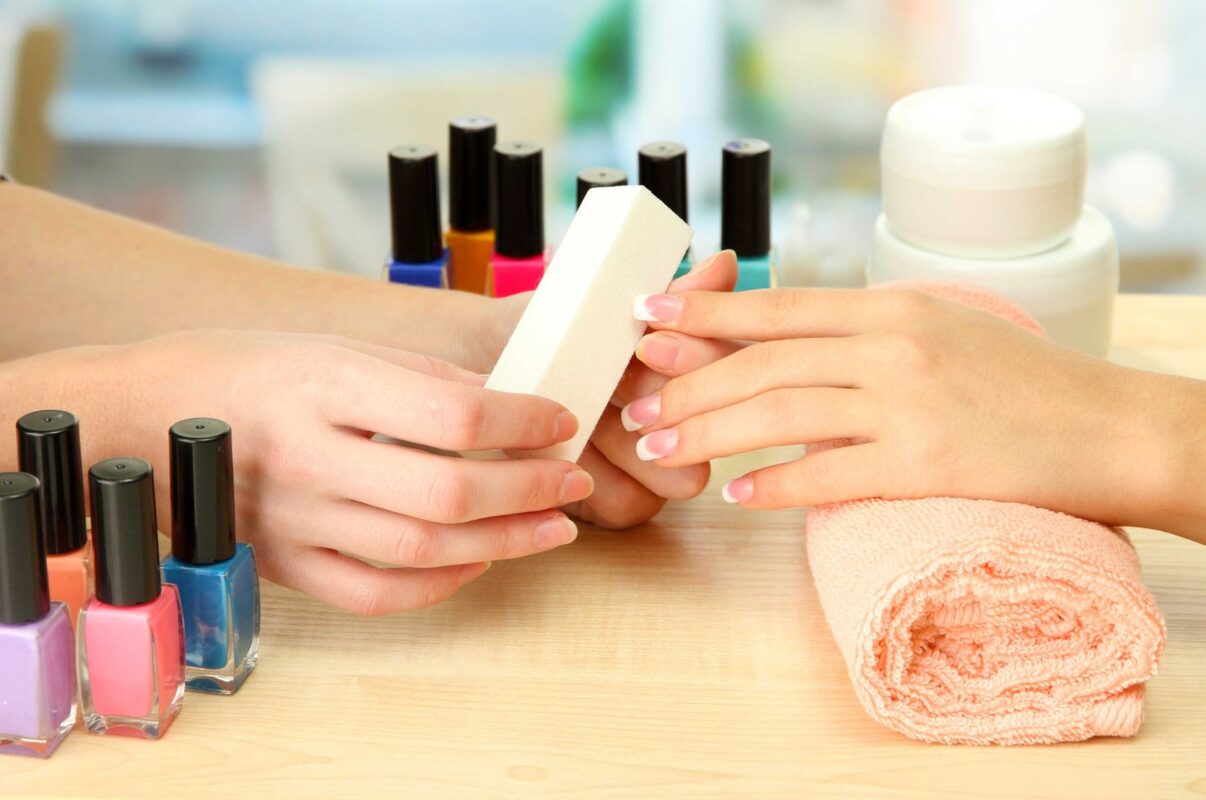
1. Block Buffers
These are rectangular blocks with multiple surfaces, each designed for different steps of nail buffing, including filing, smoothing, and shining.
2. Nail Buffer Strips
These are long, thin, and often double-sided, providing an easy grip for buffing nails efficiently.
3. Electric Nail Buffers
For those who want a professional touch, electric nail buffers offer quick and effortless polishing with rotating heads that provide a salon-like finish.
4. Chamois Buffers
Made from soft leather, chamois buffers are often used with nail buffing creams to achieve an ultra-shiny finish.
Benefits of Using a Nail Buffer
1. Smooths Nail Surface
A nail buffer helps remove ridges and uneven surfaces, creating a smooth foundation for nail polish application.
2. Enhances Natural Shine
By using a nail buffer regularly, you can achieve glossy, polished nails without applying nail polish.
3. Improves Blood Circulation
Gentle buffing stimulates blood flow in the nail bed, promoting healthier and stronger nails.
4. Prevents Nail Splitting and Peeling
Buffing seals the edges of your nails, preventing splitting and peeling, which can lead to brittle nails.
5. Prepares Nails for Polish Application
Buffed nails provide a smooth surface, helping nail polish adhere better and last longer.

How to Use a Nail Buffer Correctly
Step 1: Clean Your Nails
Start by washing your hands and removing any nail polish or dirt from your nails.
Step 2: File Your Nails
If your nails are uneven or have sharp edges, use a nail file to shape them before buffing.
Step 3: Use the Coarse Side First
Most buffers have multiple sides. Start with the coarsest side to smooth out ridges and imperfections.
Step 4: Move to the Medium Grit Side
The medium grit helps refine the surface, further smoothing your nails.
Step 5: Polish with the Softest Side
The final step is to use the softest side of the buffer to bring out a natural shine.
Step 6: Apply Cuticle Oil or Moisturizer
After buffing, apply cuticle oil or hand cream to keep your nails hydrated and healthy.
How Often Should You Buff Your Nails?
Buffing your nails too often can weaken them. Ideally, you should buff your nails once every two weeks to maintain a smooth and healthy appearance without causing damage.
Common Mistakes to Avoid When Using a Nail Buffer
1. Buffing Too Often
Excessive buffing can thin out your nails, making them prone to breakage.
2. Using Too Much Pressure
Applying too much pressure while buffing can damage the nail surface and lead to sensitivity.
3. Skipping Moisturization
Buffing can strip natural oils from your nails, so always apply a moisturizer or cuticle oil afterward.
4. Using a Dirty or Worn-Out Buffer
Old buffers can accumulate dirt and bacteria, leading to potential nail infections. Replace them regularly.
Best Nail Buffers on the Market
If you’re looking for high-quality nail buffers, here are some top recommendations:
1. Opi Brilliance Block Buffer
A professional-grade buffer that provides an ultra-smooth finish.
2. Tweezerman Neon File, Buff, Smooth & Shine Block
A 4-way buffer that delivers a complete nail buffing experience.
3. Onsen Secret Japanese Nail Buffer
This high-end buffer gives a long-lasting shine and promotes nail health.
4. MelodySusie Electric Nail Buffer
Ideal for those who want a salon-quality shine without manual effort.

DIY Nail Buffing Cream Recipe
If you prefer natural nail care, you can make your own nail buffing cream at home.
Ingredients:
- 1 teaspoon of olive oil
- 1 teaspoon of lemon juice
- 1 teaspoon of beeswax
Instructions:
- Melt the beeswax and mix it with olive oil and lemon juice.
- Allow the mixture to cool and store it in a small container.
- Apply a small amount to your nails before buffing for added shine and nourishment.
Conclusion
A nail buffer is an essential tool for achieving smooth, shiny, and healthy nails. Whether you prefer manual or electric buffers, incorporating this tool into your nail care routine can make a significant difference in your nail’s appearance and health. By following the right buffing techniques and avoiding common mistakes, you can enjoy naturally beautiful nails with minimal effort. So, invest in a quality nail buffer today and give your nails the care they deserve!